jaynaylor
patreon
Nice Moments - Process 3
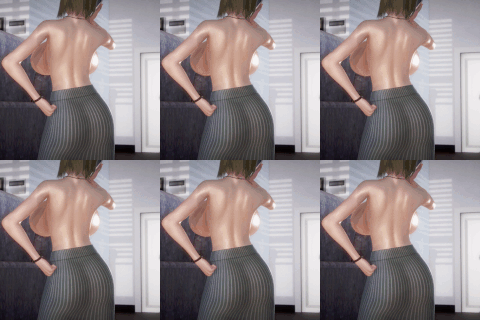
🕑 Added 2015-02-12 21:45:38 +0000 UTC 6.) Adding the color flats by doing the stuff in the background first, so the character stuff can be easily put on top of it. This is also where I put in most of the cutesy strange fictional brands on all the products. 7.) Character flats complete. I tend to leave them on a separate layer than the background, but that's not critical. 8.) The flats are given depth by putting in a series of lighter areas. Much of the dull gloss is added to shiny things, here, like the bags and aluminum cans. 9.) Glossy parts are added here, accenting even more shiny areas, such as the bags, hair, as well as organic things like eyes, nipples, and such. I also went to the pencil layer and used the eraser tool on very low flow to soften some of the pencil lines, especially around the inner joints, mouth, hair lines, nipples, and other areas that just benefit from it. Another darkening layer was added underneath the couch. 10.) Finally, I put a purple multiply layer on top of all the color portions and used the eraser tool to imply a darker setting, as people usually have in front of a television.
Comments
Waymond
This explains why a lot of the mangas I read are in B&W. Coloring alone takes five whole steps
Growlph Ibex
Love the process post...would like to see more of these :)
Mac-Man
Wow you can learn a lot from stuff like this. Once again I thank you for posting this for all to see.
Bigweld
..Wait. He was the original male from your 'Red' Comic wasn't he? Now I remember xD
Jay Naylor
Ah yeah. He was in a comic I did of the both of them two years ago.
Bigweld
Had no idea he was a Dalmatian. It was a good surprise. x3 At least I think he's a Dalmatian.
Jay Naylor
Of guard?
Bigweld
Now that's an excellent step by step process! Totally got off guard from the coloring of the male, very nice!